Final Cut Pro X Poor Quality Pixelation on Render and Export to H.264 MP4
I encountered a frustrating issue this morning while attempting to deliver a finished product to the client.
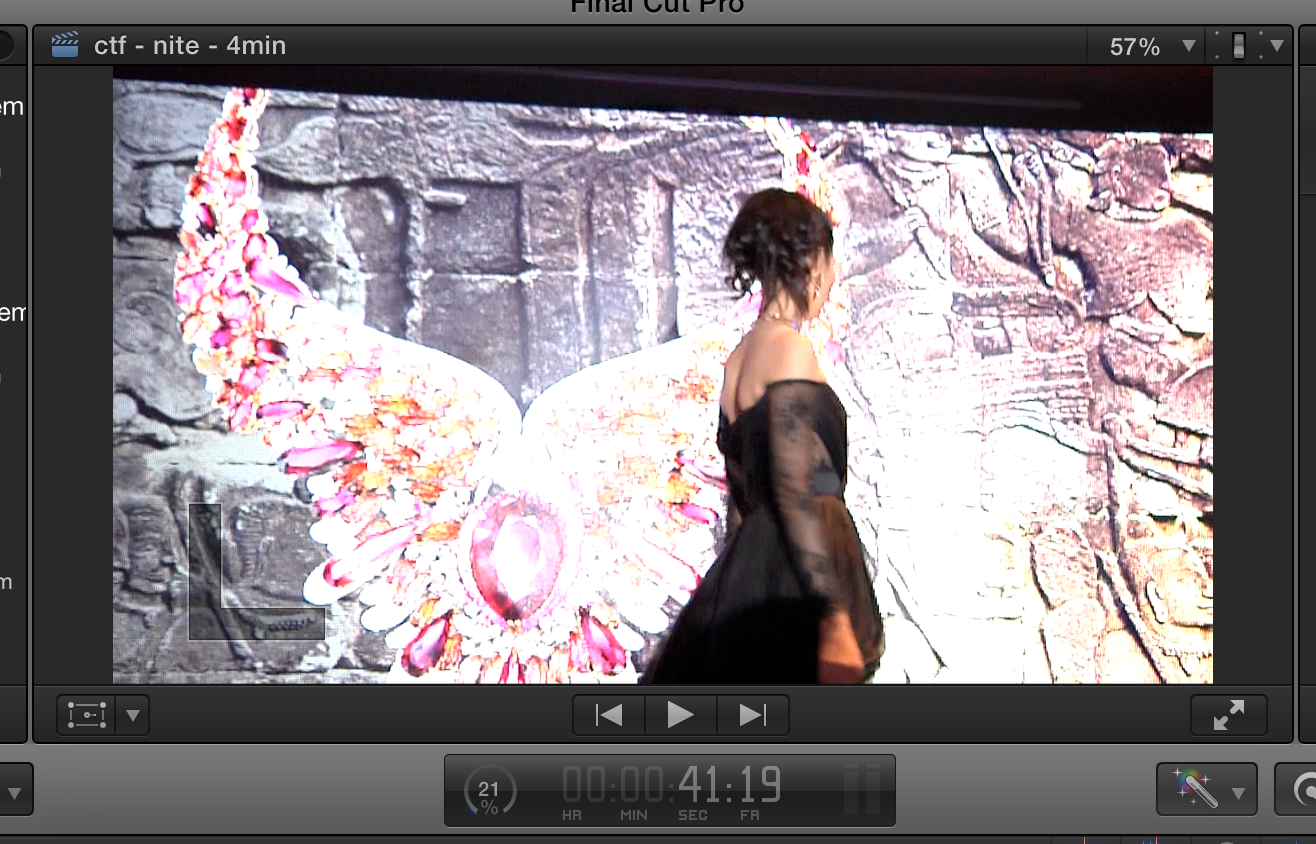
Pixelation occurred on different parts of the exported video.
They appear during some transitions, including on the first frame of straight cuts.
They occur randomly at different transitions on every export.
Troubleshoot - What did I do to solve the problem?
Is it the Compressor custom H.264 settings? No. Tweaked settings to higher quality.
Is it the MacBook Pro GPU issue? No. Turned GPU off.
Is it the Render Format setting? Probably.
Turned off timeline background rendering and deleted generated event files. Export still pixelate.
Turned on timeline background rendering and pixelation observed occurring in timeline playback.
Changed Project Render Format from “Apple ProRes 422” to “Apple ProRes 422 HQ”. Pixelation still occur in timeline playback.

Deleted Generated Event Files. Background Rendered timeline at Apple ProRes 422 HQ. No more pixelation in timeline playback.
Exported to MP4 H.264 1080 25p 7Mbps. NO MORE RANDOM PIXELATION!
Have I discovered the solution? NOOOOOO!
Using the same procedure above on the second project, pixelation occurred again in the timeline playback.
Deleted Generated Event Files. Background Rendered timeline at Apple ProRes 422 HQ. NO MORE pixelation in timeline playback.
(The common thing I did was… during the background render, I stayed in FCPx without multi-tasking to another app.)
Exported to MP4 H.264 1080 25p 7Mbps. NO MORE RANDOM PIXELATION! (I multi-tasked to this blog while exporting.)
Conclusion - What can be done better next time?
For high quality H.264 MP4 export on Final Cut Pro X v10.1.3:
http://videolane.com/courses/final-cut-pro/
Pixelation occurred on different parts of the exported video.
They appear during some transitions, including on the first frame of straight cuts.
They occur randomly at different transitions on every export.
Troubleshoot - What did I do to solve the problem?
Is it the Compressor custom H.264 settings? No. Tweaked settings to higher quality.
Is it the MacBook Pro GPU issue? No. Turned GPU off.
Is it the Render Format setting? Probably.
Turned off timeline background rendering and deleted generated event files. Export still pixelate.
Turned on timeline background rendering and pixelation observed occurring in timeline playback.
Changed Project Render Format from “Apple ProRes 422” to “Apple ProRes 422 HQ”. Pixelation still occur in timeline playback.
Background Render on
Background Render off
Exported to MP4 H.264 1080 25p 7Mbps. NO MORE RANDOM PIXELATION!
Have I discovered the solution? NOOOOOO!
Using the same procedure above on the second project, pixelation occurred again in the timeline playback.
Deleted Generated Event Files. Background Rendered timeline at Apple ProRes 422 HQ. NO MORE pixelation in timeline playback.
(The common thing I did was… during the background render, I stayed in FCPx without multi-tasking to another app.)
Exported to MP4 H.264 1080 25p 7Mbps. NO MORE RANDOM PIXELATION! (I multi-tasked to this blog while exporting.)
Conclusion - What can be done better next time?
For high quality H.264 MP4 export on Final Cut Pro X v10.1.3:
Set Render Format to Apple ProRes 422 HQ.Turn on Background Render.Delete generated event files before export.Let the background render happen.DO NOT LEAVE FCPx during background render (do not multi-task to other apps).Playback the timeline to check quality after background render.Export if all is good.
Update 16 sep 2014: The above method did not work subsequently. Annoying pixelation still appear randomly and different transition point.
So here are the steps that worked today:
Adrian Lee
1-day Video Editing Course with Final Cut Pro X – SingaporeSo here are the steps that worked today:
- Turned off MacBook Pro GPU.
- Turned off Background Render.
- Delete generated library files.
- Delete generated event files.
- Export.
I will update this post if it does not work again.
Update 19 Sep 2014: This works too.
Update 19 Sep 2014: This works too.
- Leave MacBook Pro GPU on (faster encoding).
- Leave Background Render off.
- Delete generated library files.
- Delete generated event files.
- Export.
Adrian Lee
http://videolane.com/courses/final-cut-pro/


Updated a new note at the end of the post.
ReplyDelete