How to Reduce Facial Pores in Adobe After Effects
- Drag the video clip with facial pores onto the timeline.
- Click on the clip’s name in the timeline to select it.
- Go to the main menu and select Duplicate.
- Observe a duplicated clip layer below the original in the timeline.
- Go to the main menu and select Layer > New > Adjustment Layer.
- Observe a new Adjustment layer appearing on top in the timeline.
- Click and drag the Adjustment layer name then drop it between the original clip and the duplicated clip layers.
- Click on the original clip layer name to select it.
- Go to the Effects and Presets panel and search for Threshold.
- Click and drag CC Threshold then drop it on to the original clip in the timeline.
- Observe the image in the preview monitor turning black and white.
- Go to the Effects Control panel > CC Threshold.
- Select CC Threshold > Channel > Saturation.
- Adjust CC Threshold > Threshold down to a value (40 to 60) where the whites in the preview monitor covers the skin of the face.
- Go to the Effects and Presets panel and search for Gaussian Blur.
- Drag Gaussian Blur and drop on to the original clip layer in the timeline.
- Go to the Effects Control panel > Guassian Blur.
- Adjust the value (20 to 30) of Blurriness till the blacks in the preview monitor are soft edged.
- Go to the timeline Adjustment layer and change TrkMat to Luma Matte. If you do not see TrkMat, press F4 to reveal.
- Go to the Effects and Presets panel and search for Remove Grain.
- Drag Remove Grain and drop it on to the Adjustment layer in the timeline.
- Go to the Effects Control panel > Remove Grain.
- Select Final Output under Viewing mode.
- Adjust the value (1 to 2) under Noise Reduction > Noise Reduction until the facial pores are reduced.
- Go to the Effects and Presets panel and search for Shadow/Highlight.
- Drag Shadow/Highlight and drop it on to the Adjustment layer in the timeline.
- Go to the Effects Control panel > Shadow/Highlight.
- Untick Auto Amounts.
- Adjust value (about 100) of Shadow Amount till eyebag is reduced (not totally removed, just reduced).
- Finally, compare the before and after looks by clicking on and off the eye icon in the timeline Adjustment layer. Make further tweaks to all the values if required.
Before
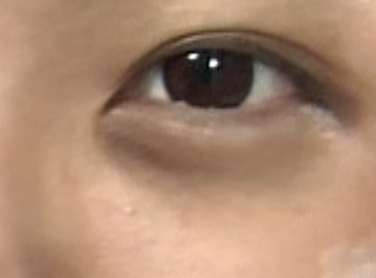
After

Do you have another method to reduce facial pores and dark eyebags from a video clip? Please share.
Adrian Lee
PS:
Check out...


Comments
Post a Comment